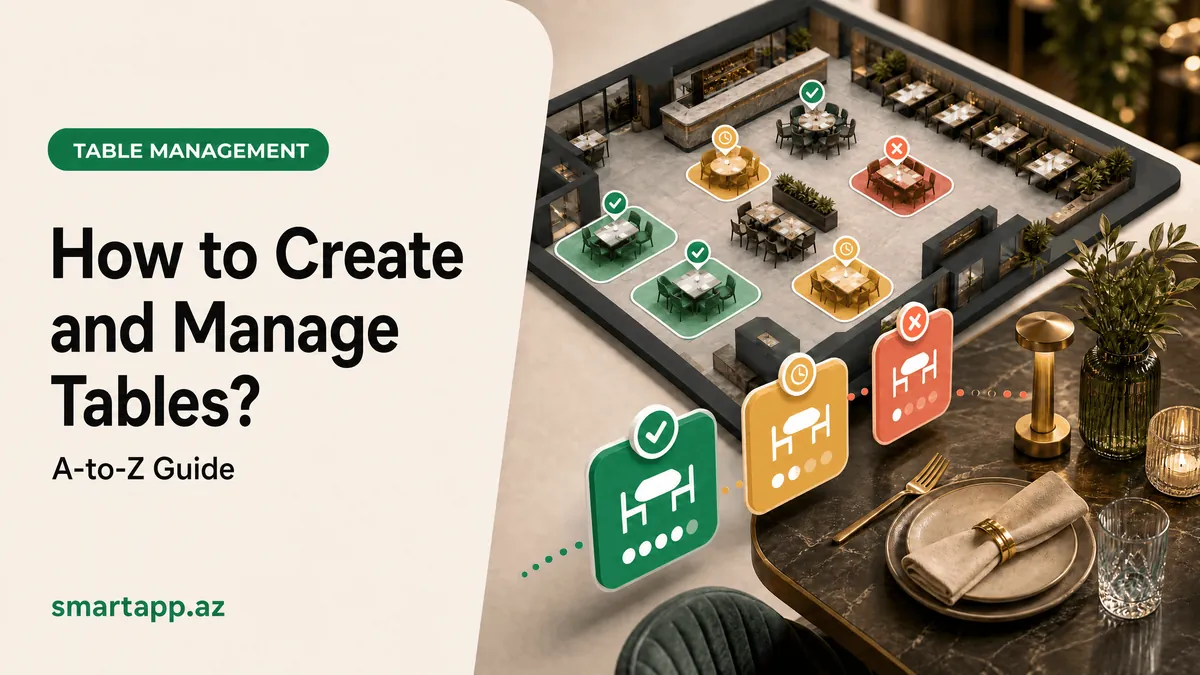
How to Create and Manage Tables (A to Z Guide)
Efficient table management is essential for the smooth operation of your restaurant. With SmartApp.az, creating and managing tables is straightforward. Follow this step‑by‑step guide to set up your tables.
1. Accessing the Tables Section
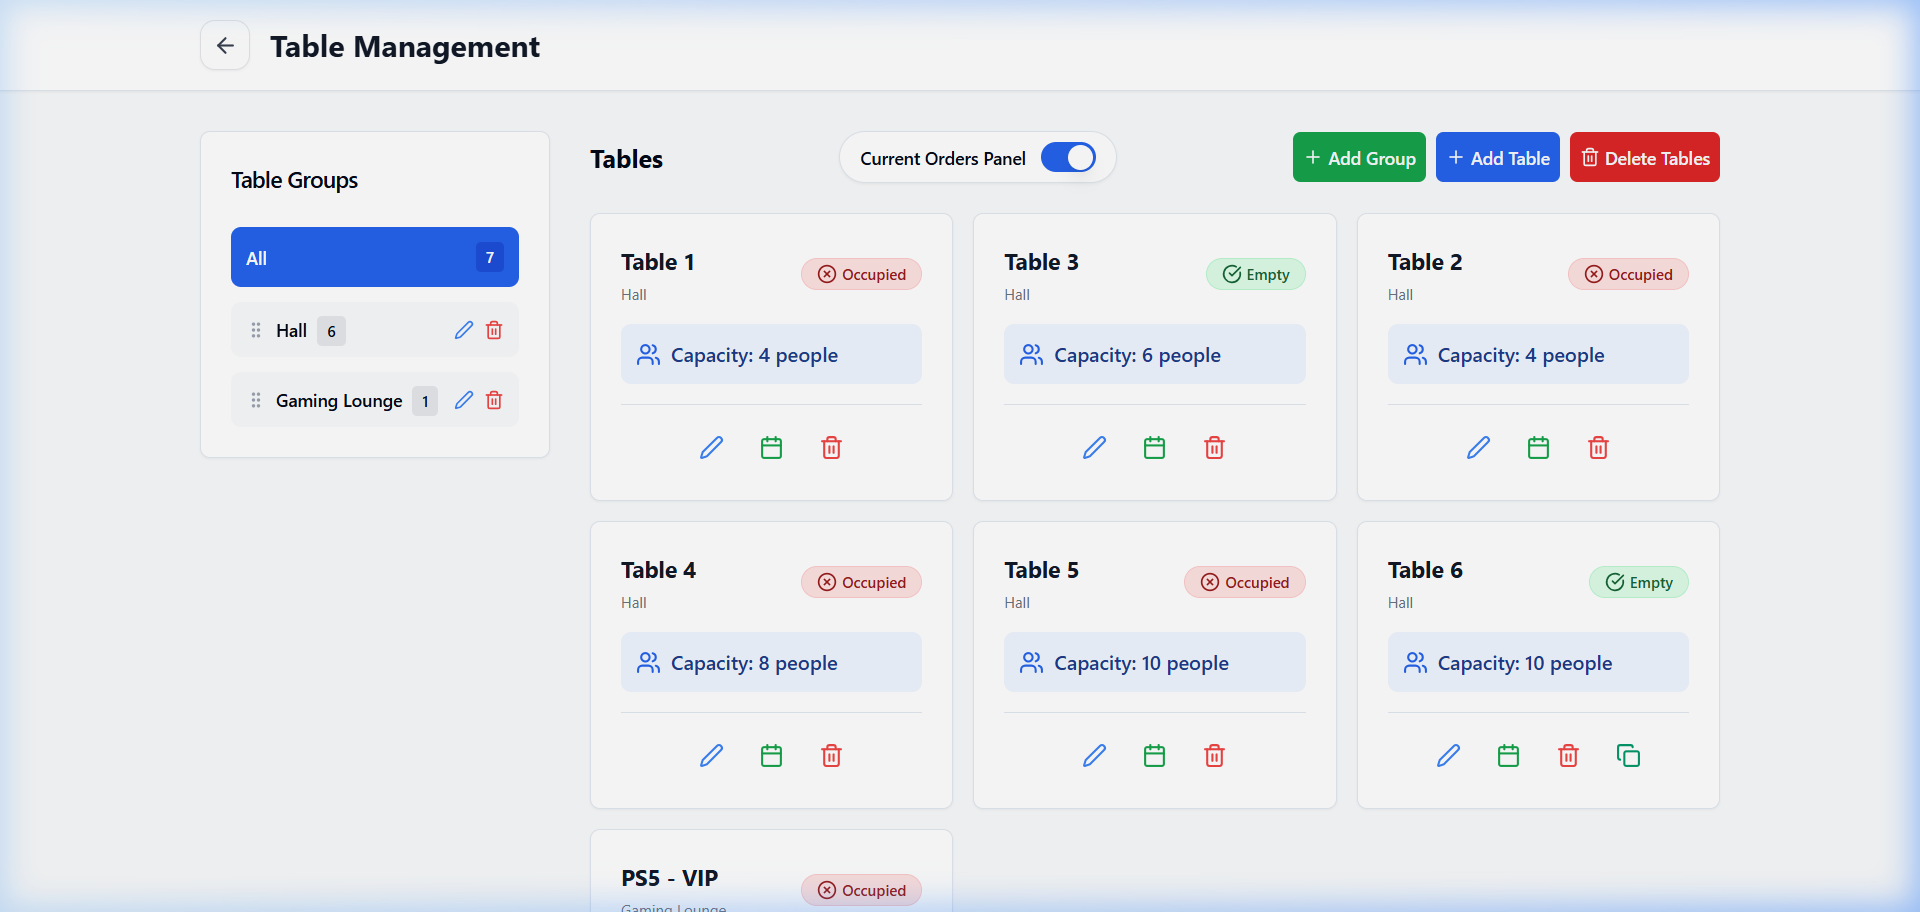
After logging in, navigate to Settings from the left panel and click on Tables. Here you'll see a list of all your venue's tables and the zones they belong to.
2. Adding a New Table
To add a new table or zone, click the Add Table button in the upper‑right corner. In the dialog that opens, fill in the following details:
Zone: Select the area where the table is located (e.g., Main Hall, Terrace, VIP Room).
Table number or name: Give the table an identifier (e.g., Table 1, Booth A).
Capacity: Enter how many guests can be seated, which helps with reservations.
3. Managing Tables and Statuses
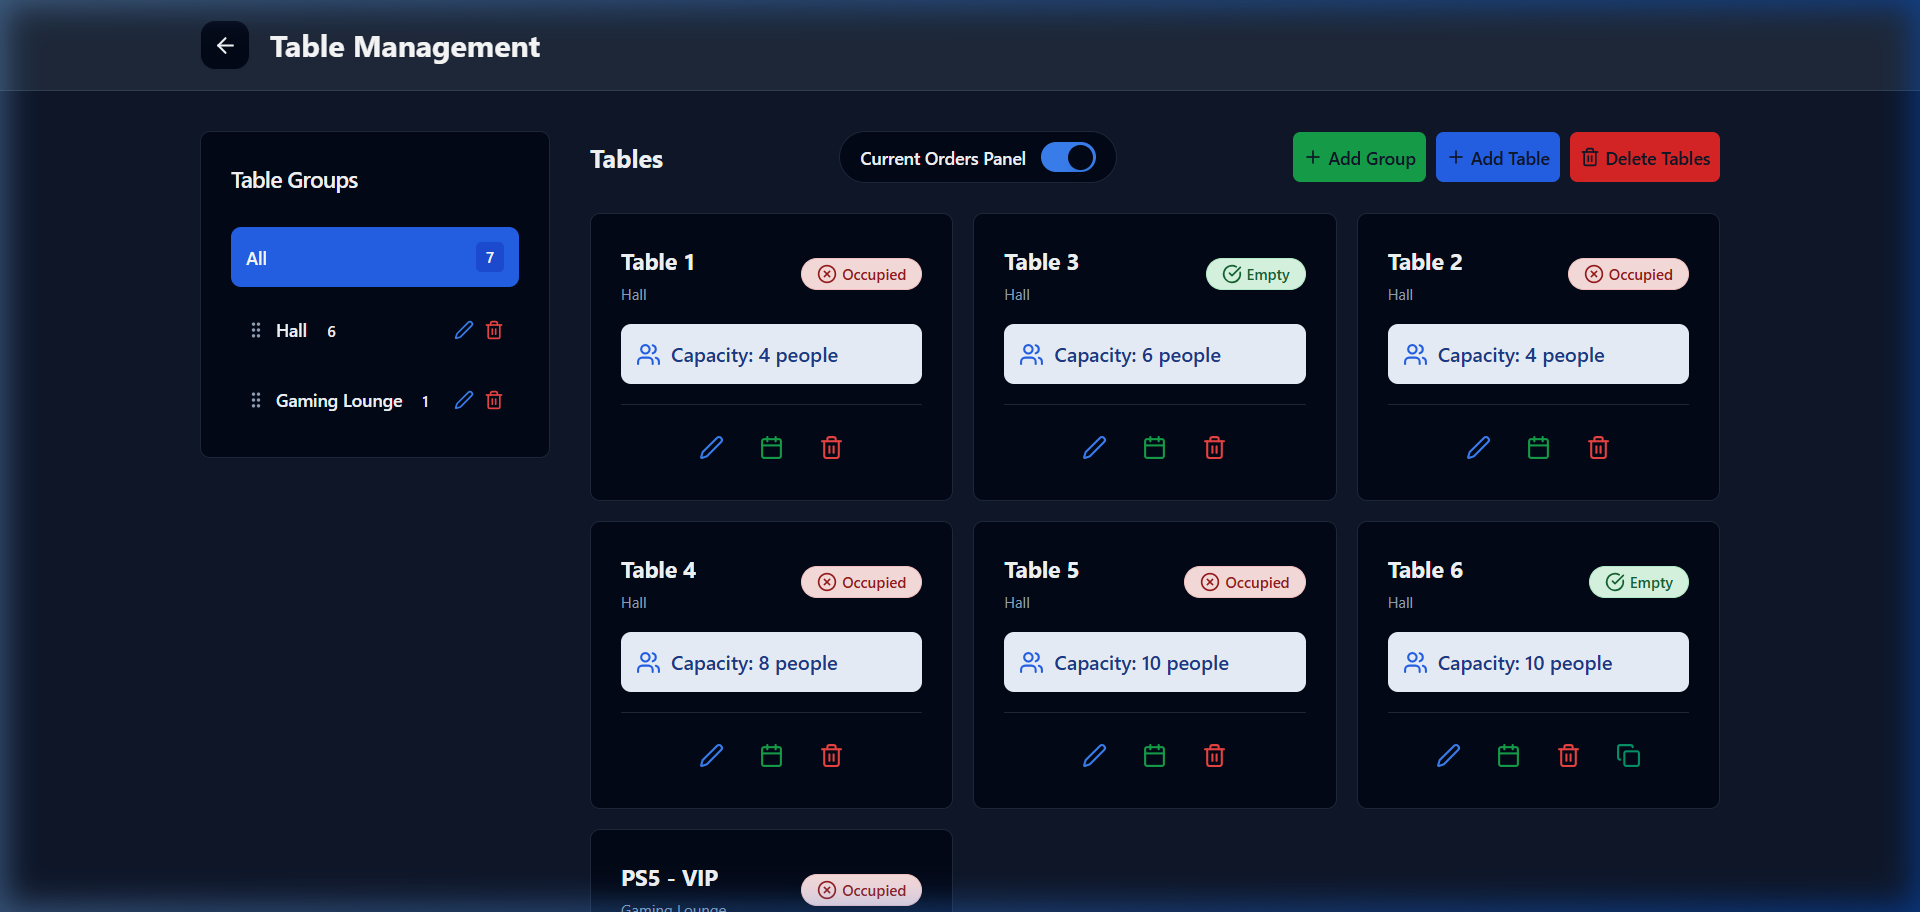
Each entry has edit and delete buttons next to it. You can set a table's status to Active or Inactive. Active tables appear on the orders dashboard grid; inactive ones are hidden.
4. Managing Zones
If your venue has multiple zones (e.g., main hall, terrace, VIP room), you can create a separate Group for each. This keeps the orders panel organized, displaying tables by zone.
Zone Organization Tips
Give each zone a clear name and assign tables consistently. This makes it easier for staff to locate orders quickly.
Proper table management increases throughput, reduces waiting times, and simplifies staff workflow. With SmartApp.az, you can monitor each table's status in real time. Learn more about optimizing your floor plan at SmartApp.az.
Share
Reviews
No approved reviews yet.
Related articles
 starFeaturedHow to Use
SmartApp Business Panel: A-to-Z Registration and Full Management Guide
Step-by-step illustrated guide covering everything from registering on the SmartApp.az system to managing tables, menus, QR orders, cash register, and staff.
 starFeaturedHow to Use
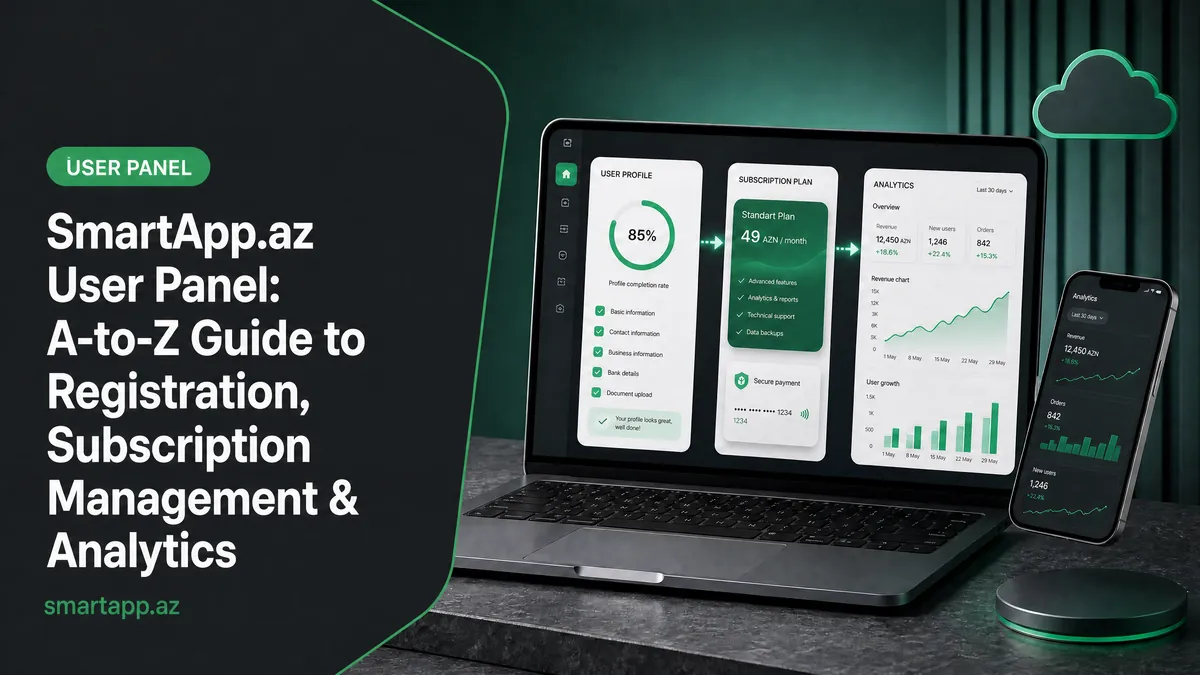
SmartApp.az User Panel: A to Z Guide for Registration, Subscription Management, and Analytics
A complete guide to the SmartApp.az user panel, covering everything from logging in, choosing subscription plans, payments, invoices, sales analytics, and location settings.
 How to Use
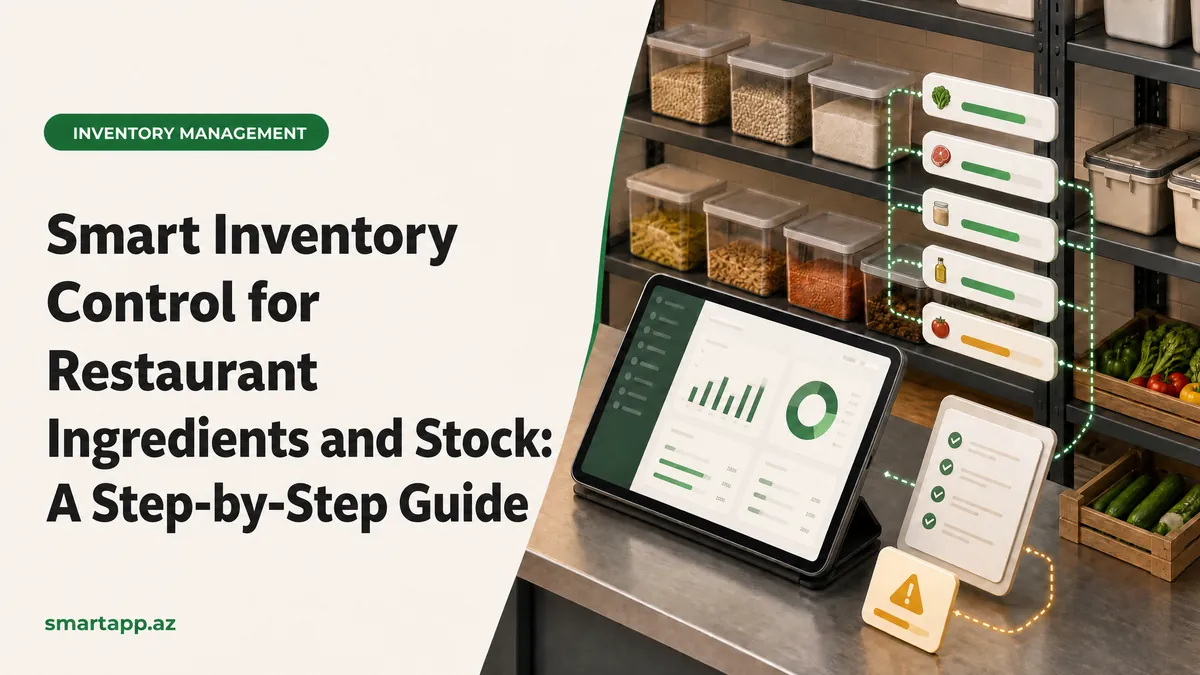
Smart Control of Restaurant Inventory & Raw Material Stock: A Step-by-Step Guide
A complete guide to registering raw materials, assigning ingredients to dishes, and managing automatic depletion using the SmartApp.az inventory module.