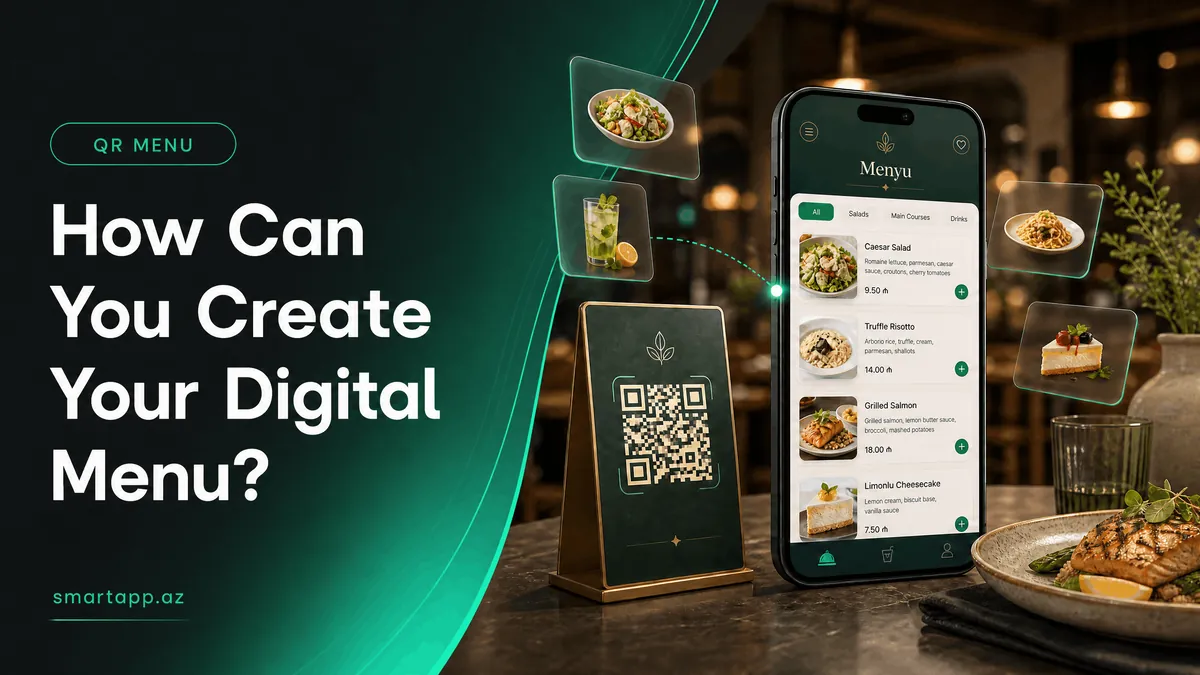
How to Create a Digital Menu
Creating your digital menu with SmartApp.az is quick and straightforward. By adding categories and products, you can offer your customers a modern QR menu. Follow this step-by-step tutorial.
1. Accessing the Menu Section
From the left panel, go to Settings → Menu. You'll see existing categories listed there. The first step is to create a category, since products are linked to categories.
2. Creating a Category
Click + New Category. In the dialog, enter the category name (e.g., Main Dishes, Beverages, Desserts) in Azerbaijani, English, and Russian. Once your category is created, you can add products to it.
3. Adding a Product
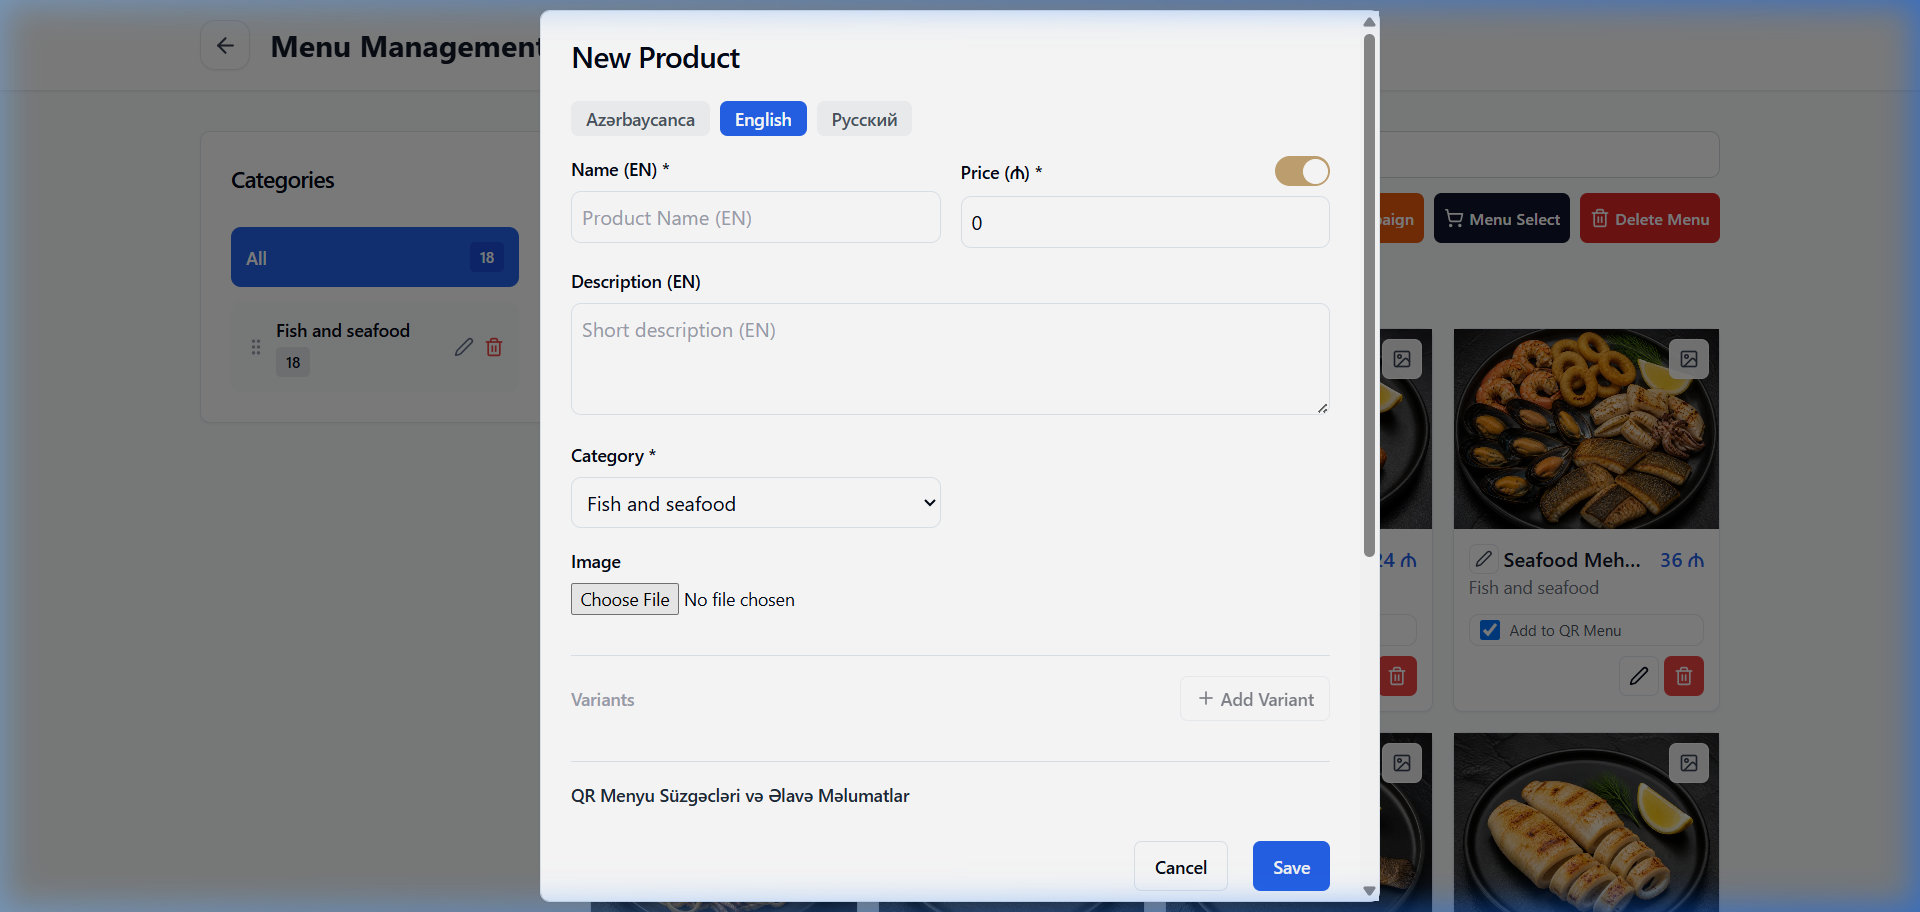
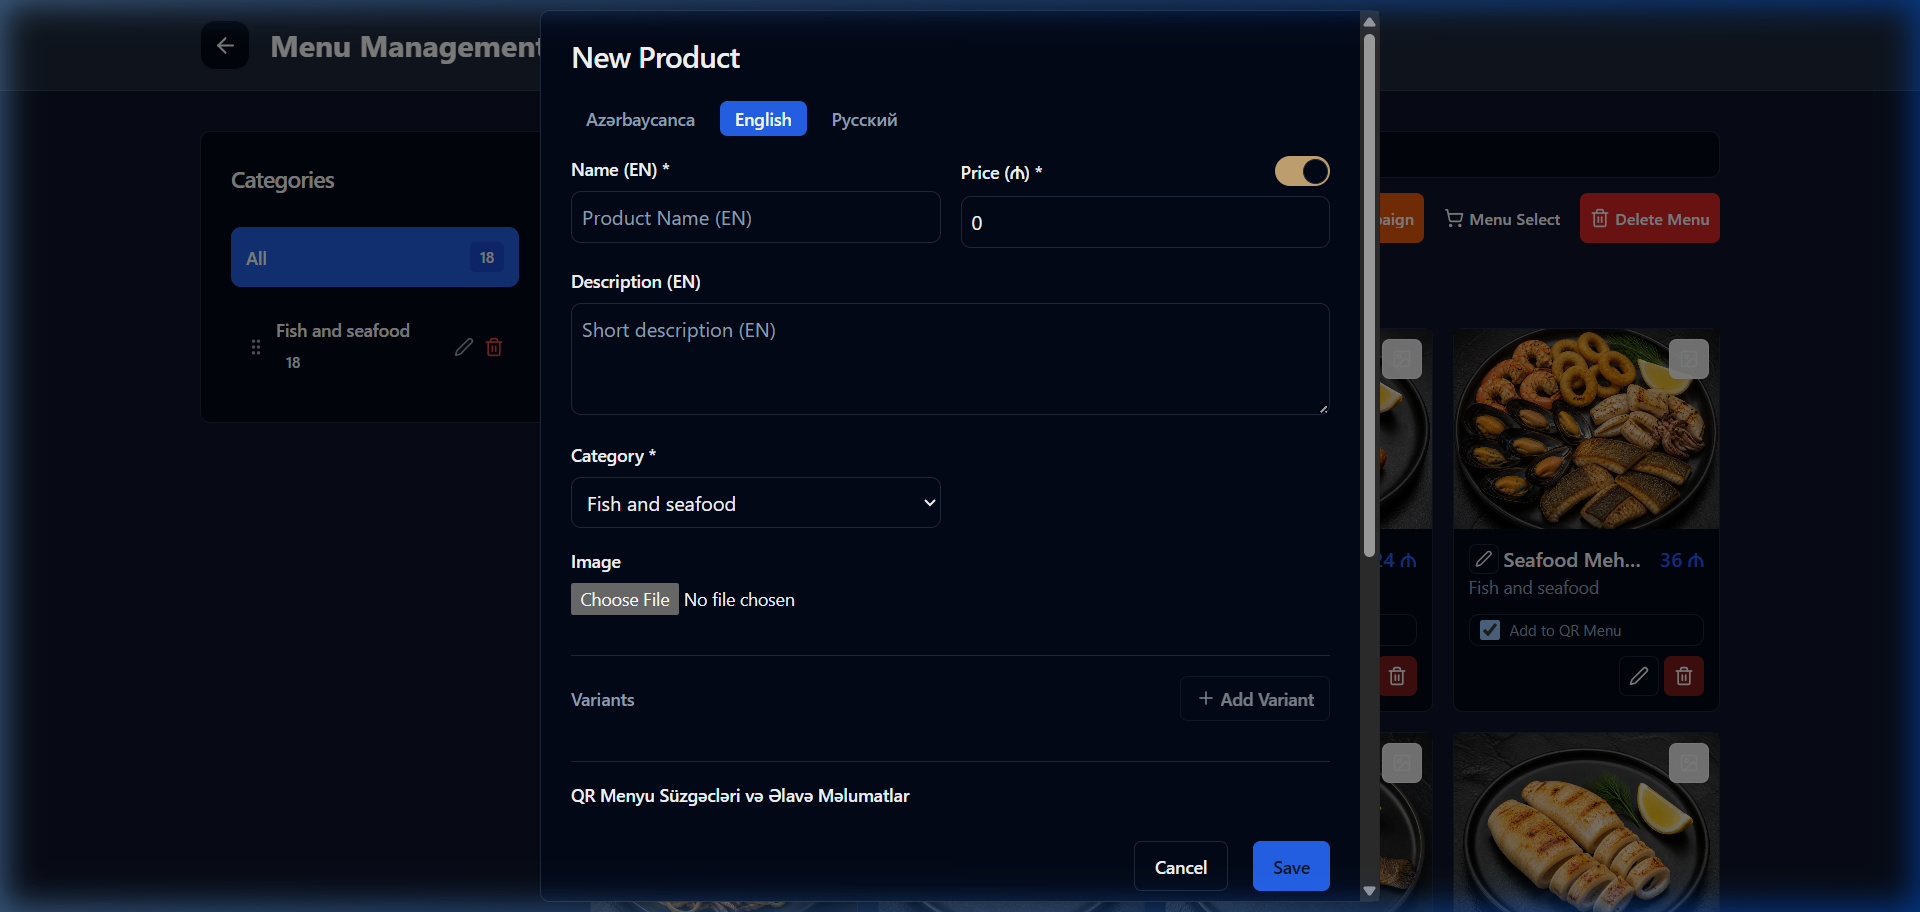
After creating a category, click + Add Product. In the form that opens, fill in:
Product name: Enter the name in all 3 languages (AZ, EN, RU).
Price: Set the selling price.
Image: Upload a photo of the product — this makes it easier for customers to choose.
Description (optional): Add a brief description of the product.
4. Activating Your Menu
Once all products are added, your menu is ready to display via QR code. Go to the QR Menu section to download the QR code and place it on your tables.
A digital menu improves the customer experience, reduces ordering errors, and speeds up service. Menu management with SmartApp.az is simple!
Share
Reviews
No approved reviews yet.
Related articles
 starFeaturedHow to Use
SmartApp Business Panel: A-to-Z Registration and Full Management Guide
Step-by-step illustrated guide covering everything from registering on the SmartApp.az system to managing tables, menus, QR orders, cash register, and staff.
 starFeaturedHow to Use
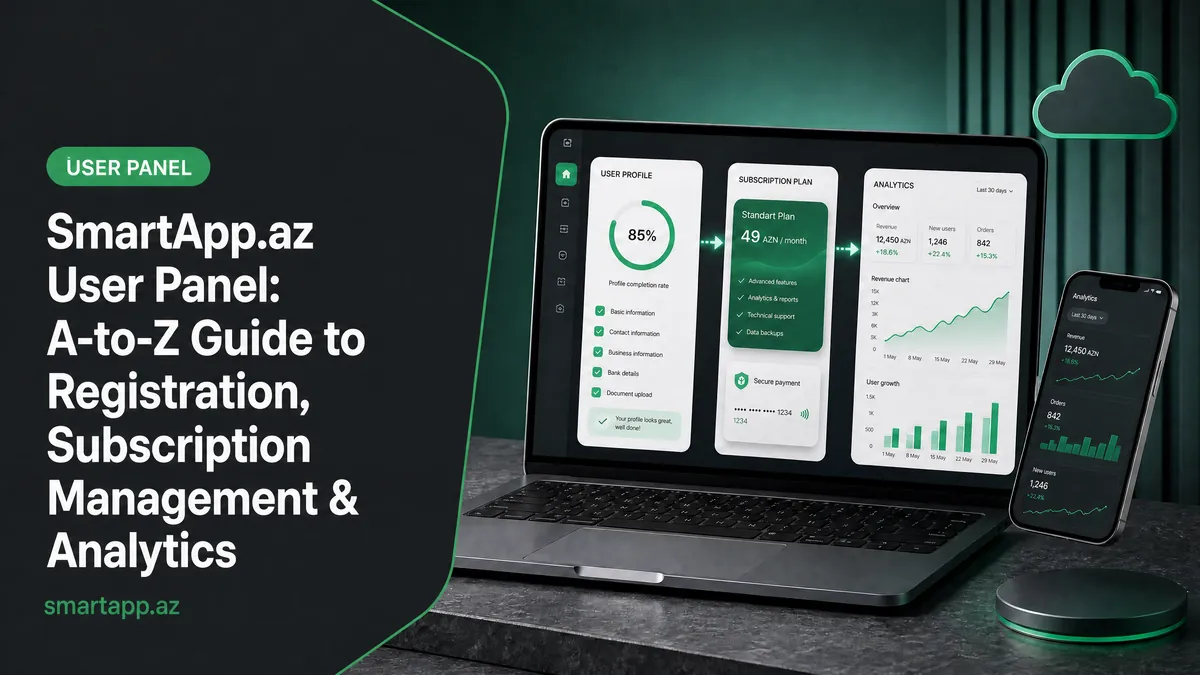
SmartApp.az User Panel: A to Z Guide for Registration, Subscription Management, and Analytics
A complete guide to the SmartApp.az user panel, covering everything from logging in, choosing subscription plans, payments, invoices, sales analytics, and location settings.
 How to Use
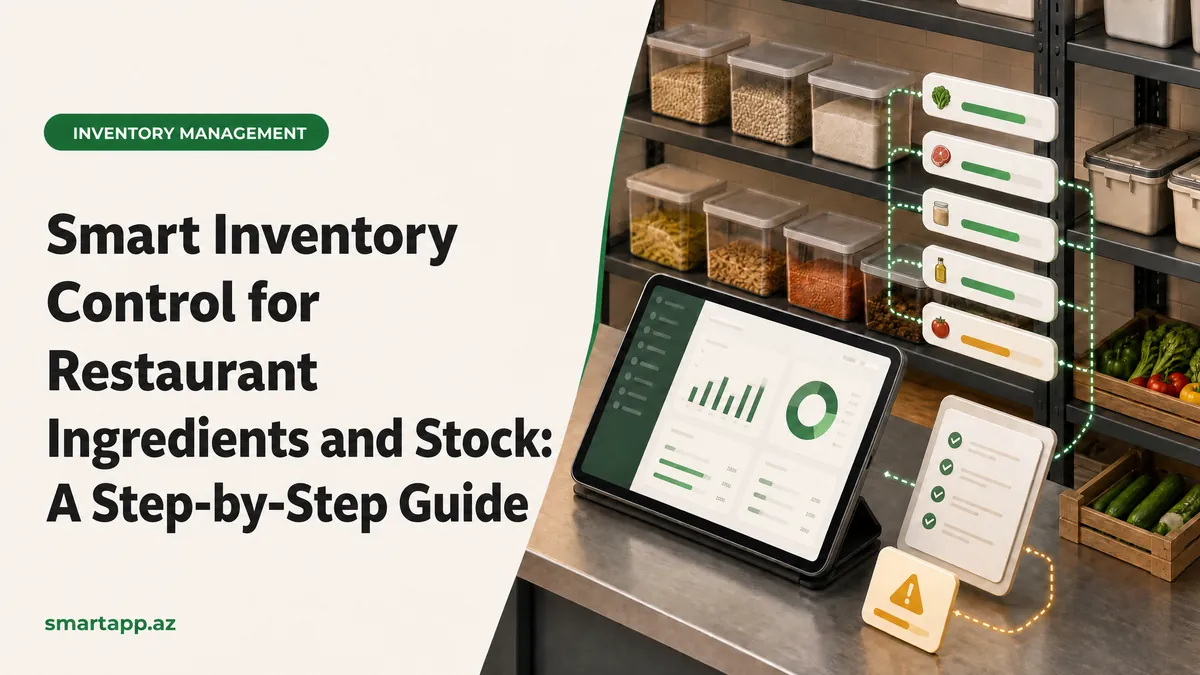
Smart Control of Restaurant Inventory & Raw Material Stock: A Step-by-Step Guide
A complete guide to registering raw materials, assigning ingredients to dishes, and managing automatic depletion using the SmartApp.az inventory module.